
Connecting a Diagnosis for a Client
There are now two processes to write and bill for a Diagnostic Assessment. If your DA has an “OBH 00” or “OBH 01” Click Here.
Register a Diagnosis for a Client (New)
With BreezyNotes 3.0 comes a new way to complete a Diagnostic Assessment that allows you to bill for one or multiple sessions an brings the Diagnostic Form along with it.
There are two forms required to register a diagnosis and submit an insurance claim or bill a client
- 01 – Standard Diagnostic Assessment
- 01A – Diagnostic Billing Note
Completing a Diagnostic Assessment
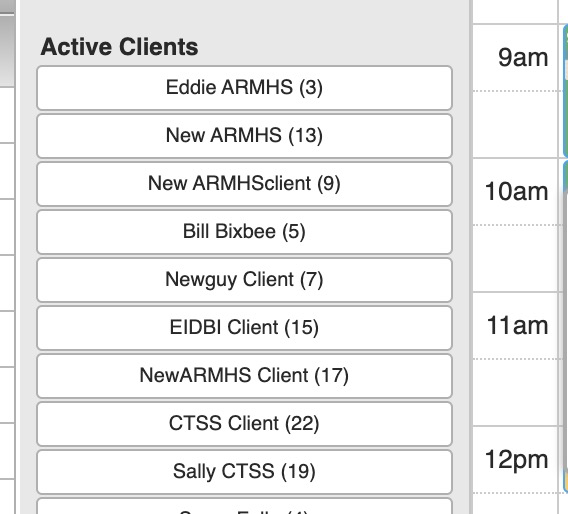
1. Create the Appointment on the Calendar
- Drag the client’s name from the Active Client List on the left to the client’s initial appointment
TIP: You can also click on the calendar to set up an appointment and will need to specify the client in the Client section of the appointment window
- The Appointment Window will pop-up
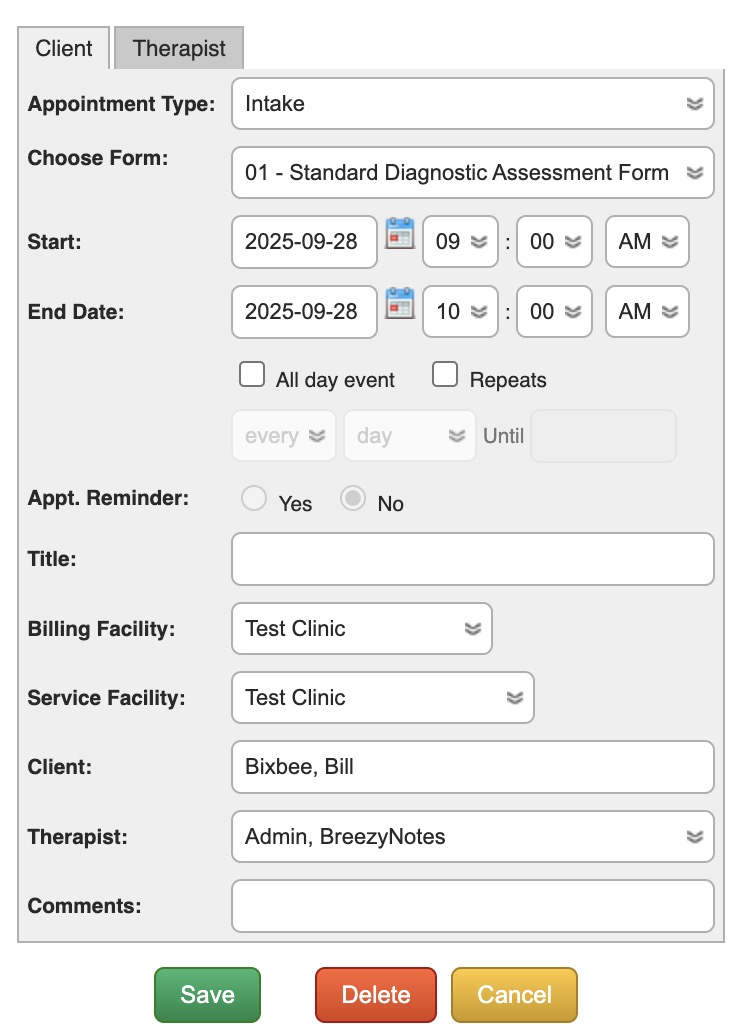
- Change the Appointment Type to “Intake”.
- If not set as the default, choose 01 – Standard Diagnostic Assessment from the “Choose Form” dropdown.
- Click save. This will create light blue appointment on the calendar.
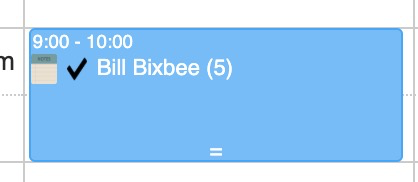
-
You now have the initial appointment scheduled for the client
2. Start the Diagnostic Assessment
- To start filling out the DA, click on the notepad icon on the blue appointment on the calendar

- Once selected, the Diagnostic Assessment will open up.
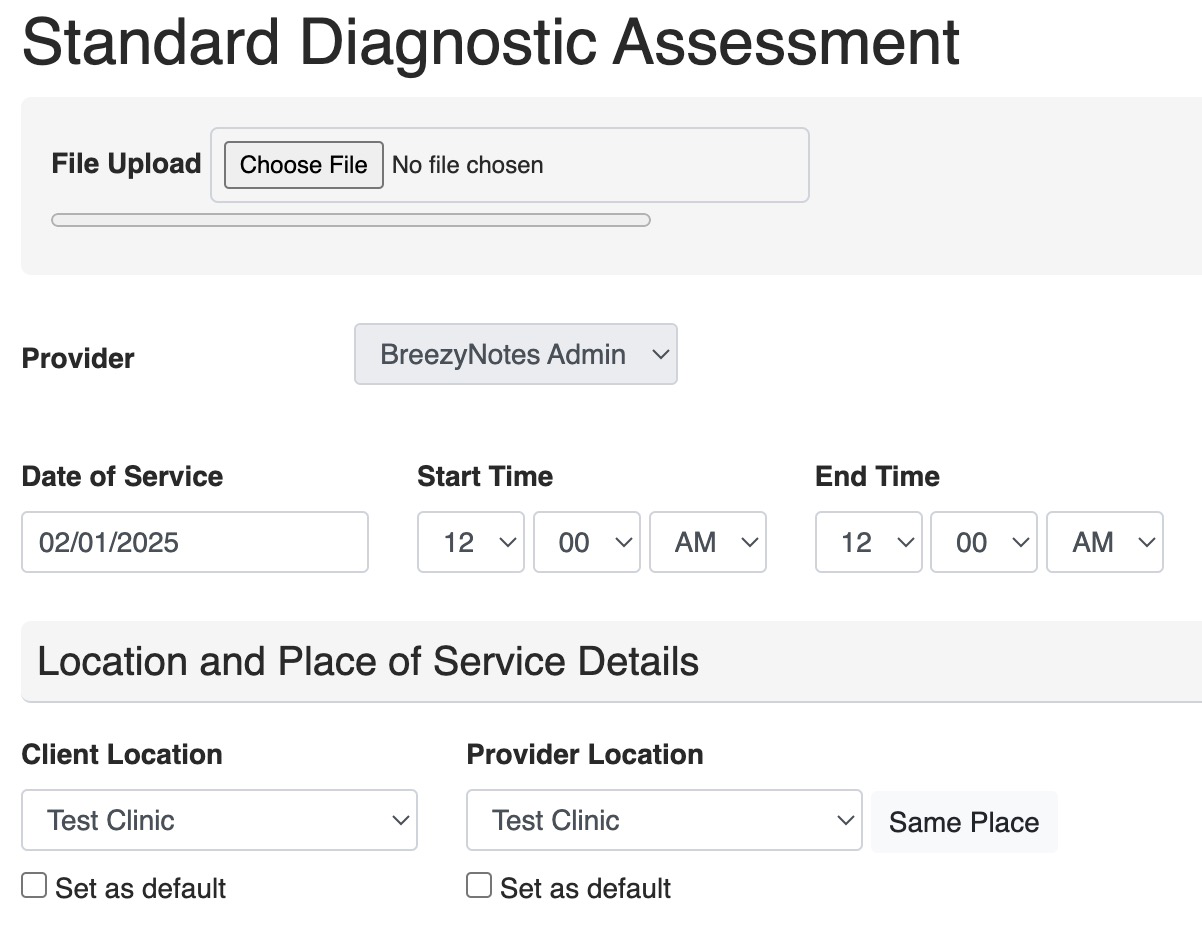
- File Upload: Use this to upload files or documents associated with the Diagnostic Assessment
- Provider: The person filling out this form
- Date of Service: Can be adjusted as the form is completed
- Client Location: Location of Client at time of service.
- Provider Location: Location of Provider at time of service.
- If the provider is at home doing telehealth, then choose the Primary Facility
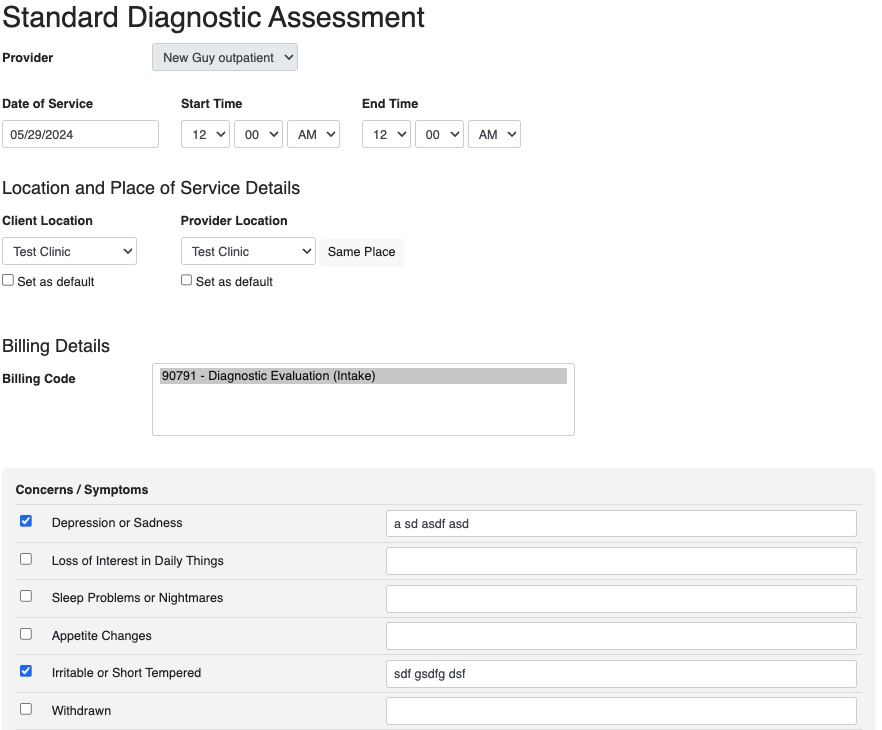
The Concerns/Symptoms Section
Unique to our Diagnostic Forms is the Concerns/Symptoms sections. If the client has access to the portal, they can pre-fill this section out.
- The client must submit their Concerns/Symptoms via the Client Portal prior to a provider opening the form.
- The Concerns/Symptoms DO NOT appear in the Client Portal Forms section of the chart.
3. Complete all other fields in the Diagnostic Assessment
- Fields marked with a red asterisk are required
4. Choose a Primary Diagnosis from the dropdown at the end of the form

PRO TIP: Once you’ve clicked the select box, you can typed the Diagnosis Code to quickly select it.
- If the client has secondary diagnoses, click the “Add Additional Diagnosis” button for each one repeating the above steps.
5. Save or Complete the Diagnostic Assessment
At the end of the form you have three options:
- Save: Saves the form and you can continue working
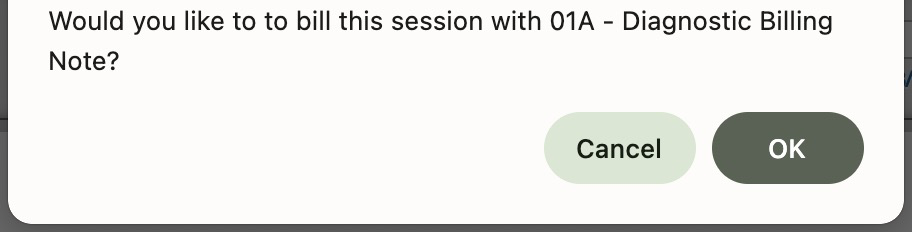
- Save and Close: Saves the form and asks if you want to bill for it.
- Click OK to bill for your session, or click Cancel if you do not. You will be returned to the calendar.
- To get back to the saved form:
- Click the notepad icon on the existing appointment if you are finishing it on the same day.
- Create a new appointment with the same form if you are finishing it on a different day AND you want to bill for two days.
- Go into the clients chart. It will be in the Encounter History.
- Save and Sign: Saves the form and adds the provider signature to it, locking it from further editing (unless provider or admin has edit access), and then asks if you want to bill for that session.
- Click OK to bill for your session, or click Cancel if you do not. You will be returned to the calendar.
Billing for the Diagnostic Assessment Session
- After filling out and Save and Closing, or Save and Signing, you will be asked if you want to bill for your time
- In addition to Date of Service, there will also be a Start Time and End Time
- Start Time: Indicate the actual start time of the appointment
- End Time: Indicate the actual end time of the appointment
PRO TIP: Use the numbers on your keypad and the tab key instead of the mouse to quickly work through these adjustments
- There will be a “Billing Details” section in addition to the File Upload, Provider, and Location and Place of Service Details sections mentioned above.

- Choose the appropriate billing code for the session
- To choose an additional billing code like Interactive Complexity, hold the Ctrl button (PC) or Cmd button(Mac) while clicking. You can also do this to unselect a billing code.
- Fill out Travel Time, if applicable
- Complete Billing Note
- Select Client’s Diagnosis again from the dropdown
- This duplication of effort is required for this form in case the Progress Note is submitted prior to having completed the full diagnostic assessment completed.
- At the bottom of the form you will have three options: “Save”, “Save and Close”, “Save & Sign”, or “Save, Sign, & Submit”

- Choose Save, Sign & Submit if you are done with the form
- If this button is grayed out, it will display a message with the reason why.
- If it is missing, you do not have the access level required to submit a claim. Talk to your clinic administrator if this is incorrect.
- If you Save and Close, you can can return to this form, by going to the client’s Encounter History in their chart.
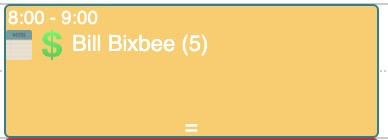
- The blue appointment will have turned yellow to indicate that the session was started but not completed.
A Note on Telehealth
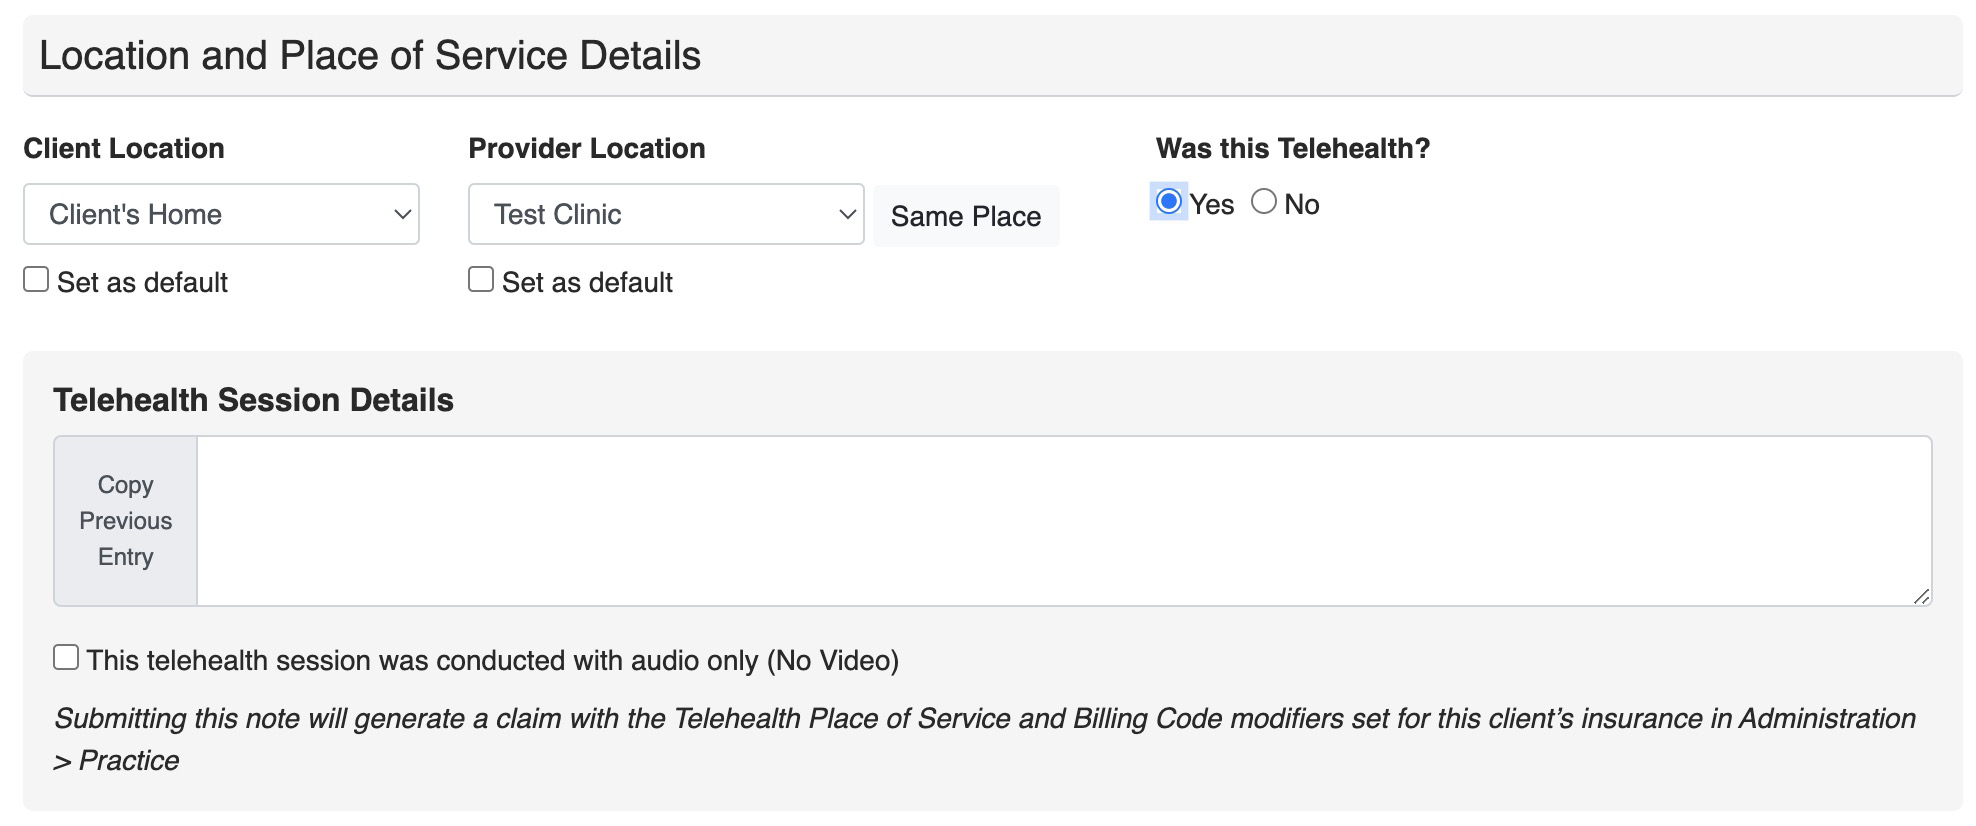
- If the Client Location and Provider Location are different, the system will ask “Was this Telehealth?”
- Choose “Yes” and a Telehealth Session Details section pops up
- If you choose No you will receive this warning:
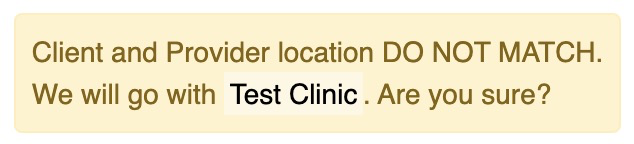
The logic being, if provider and client are in different places, how would they have a billable session unless telehealth was involved?
THIS APPLIES WHETHER THE FORM IS BILLABLE OR NON-BILLABLE.
How to Return to an Unfinished Form
- Forms with appointments associated with them can be re-opened by clicking on the Notepad icon (
 ) on the now yellow appointment:
- All partially completed forms can be access in Encounter History in the client’s Chart. This is where you need to go for all forms that do not have an appointment associated with them.
- When clicked a list of all encounters will open.
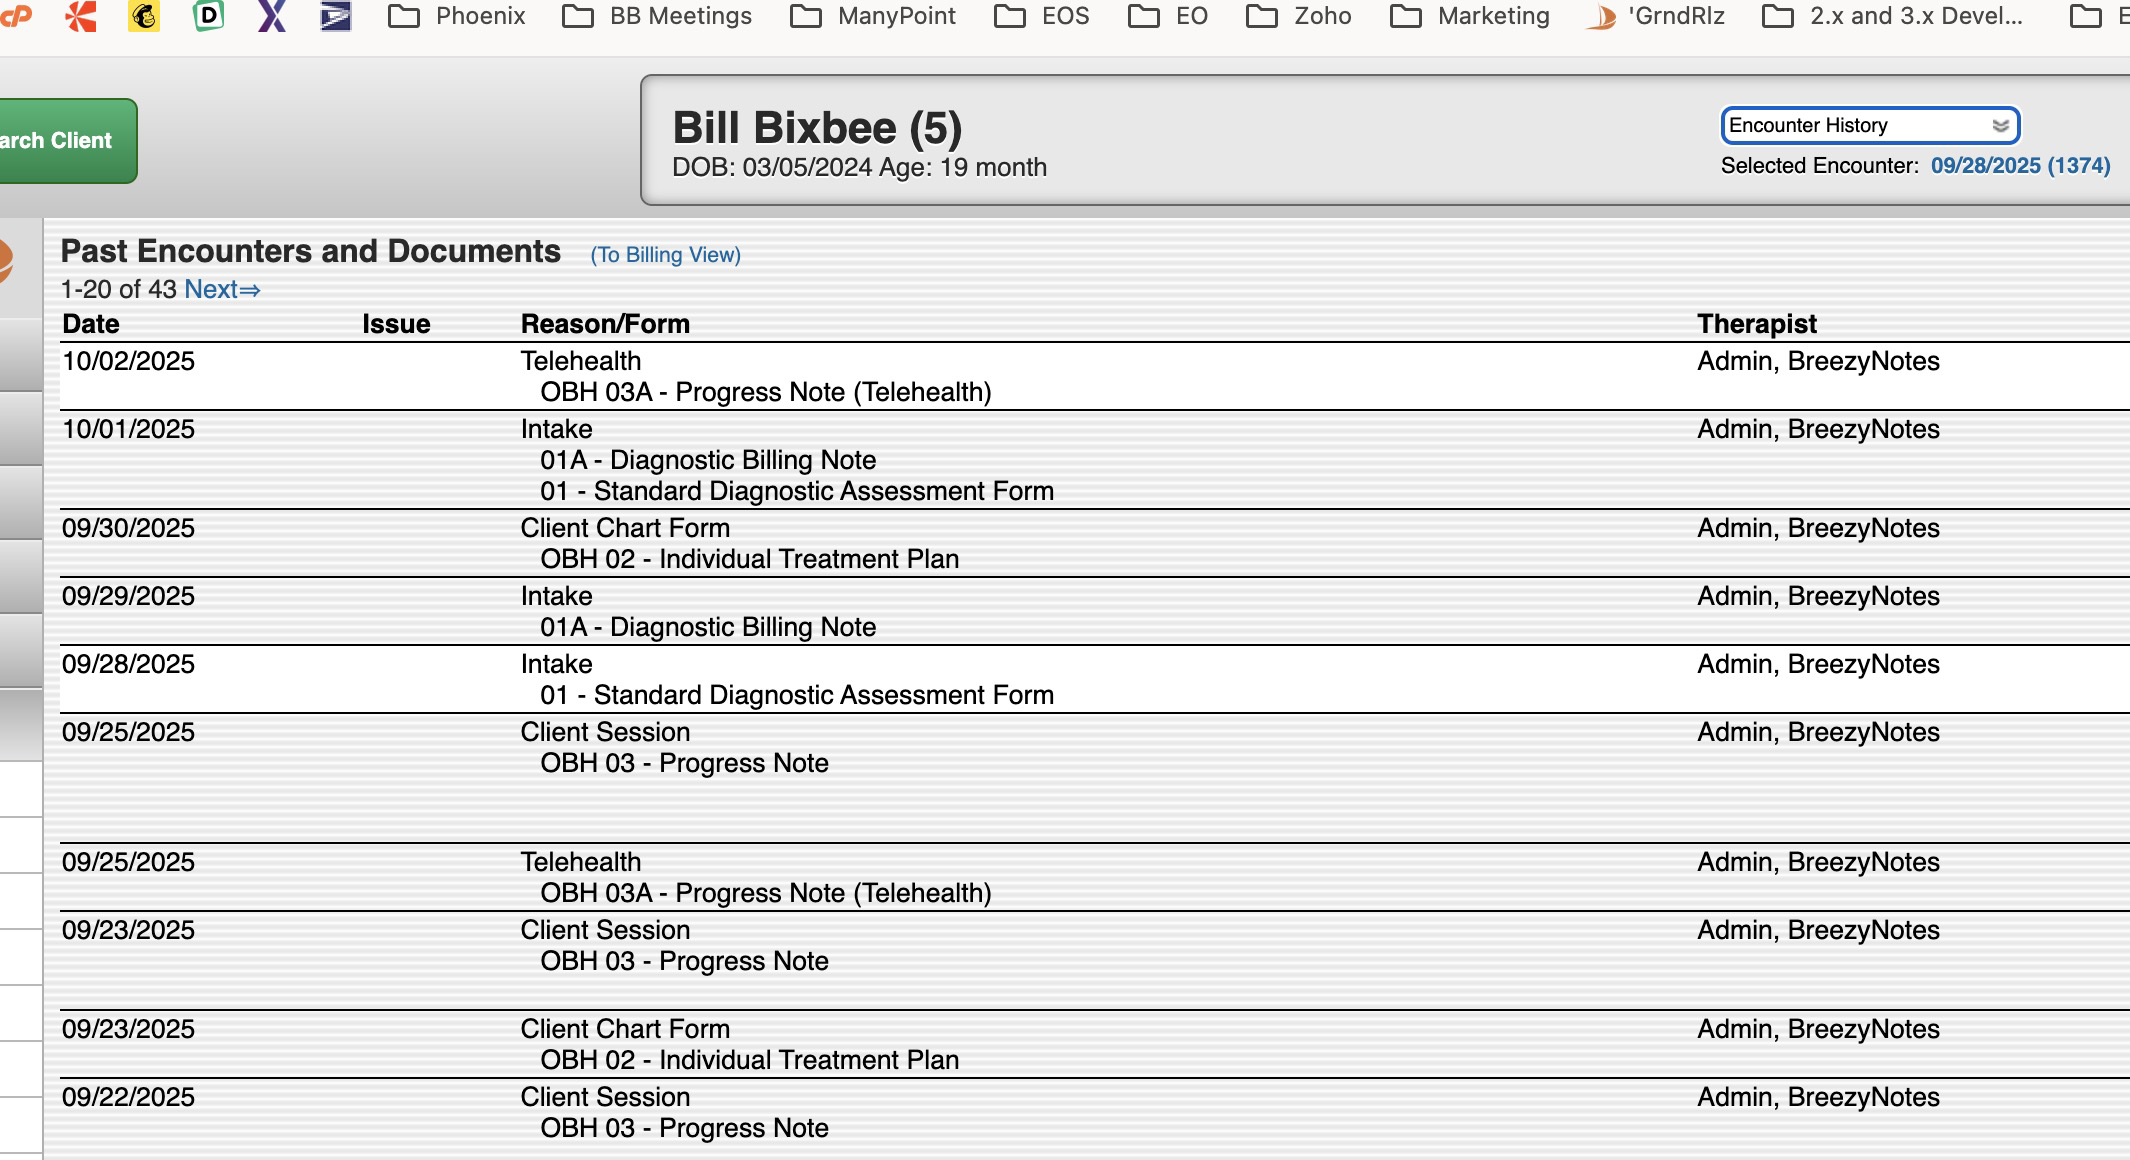
- Find the Encounter with the form that needs to be finished, click on it. The Encounter Summary will appear:
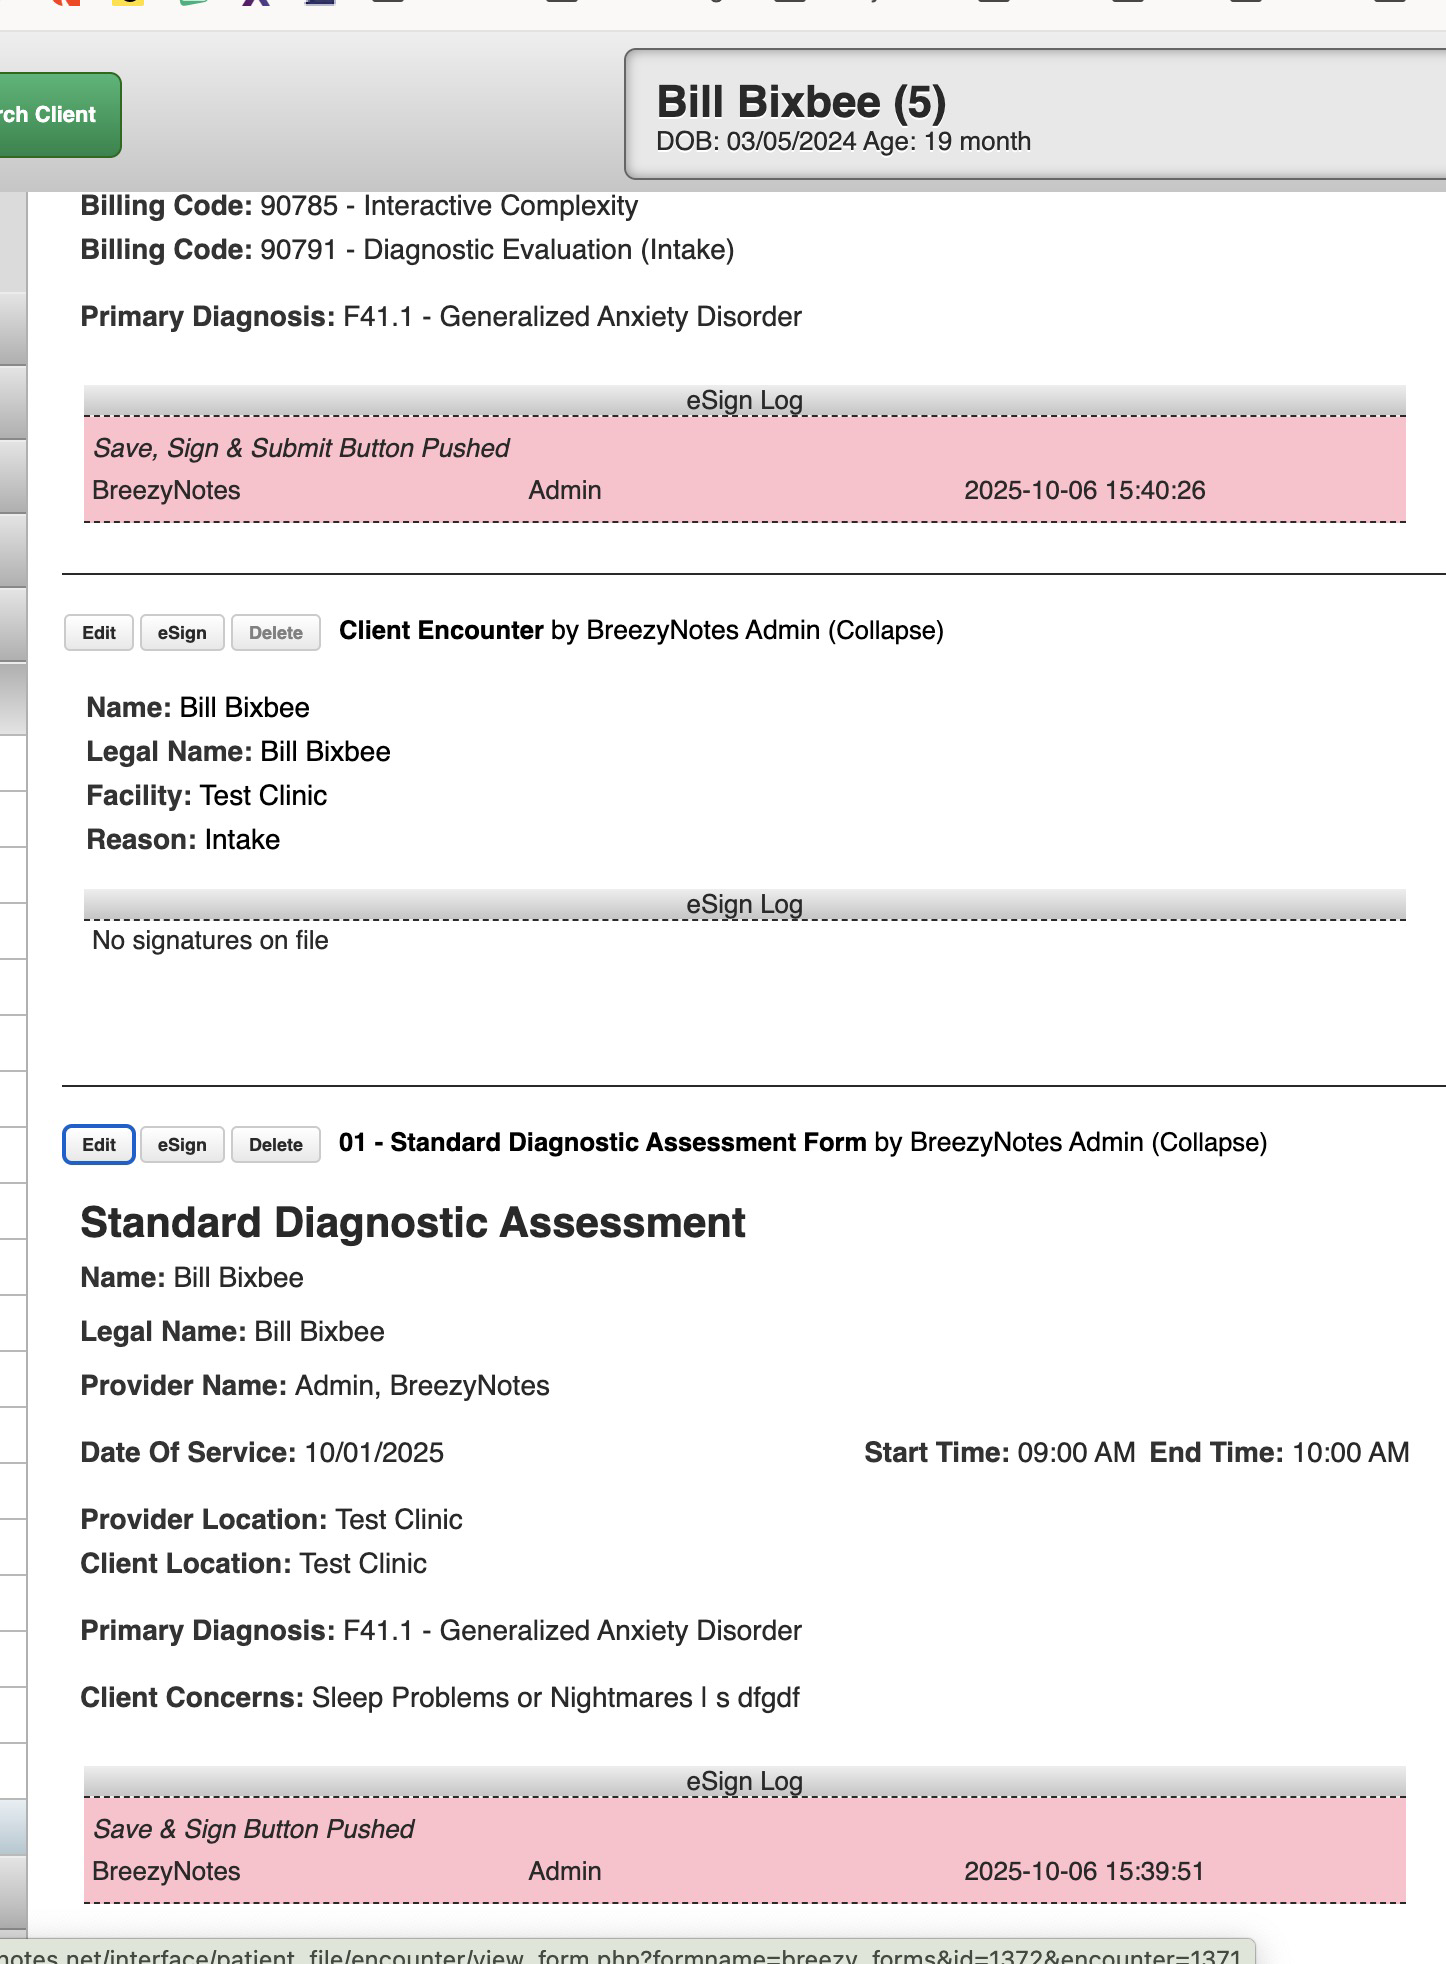
Click the Edit button above the form you want to edit.
Register a Diagnosis for a Client (Legacy Setup – OBH 00 or OBH 01)
Before you can bill any claim, the client must have a diagnosis registered. There are two forms that will register a diagnosis for a client:
- OBH 00 – Diagnostic Progress Note
- IMPORTANT – If you are billing more than one session to complete a Diagnostic Assessment, use this Form to bill for the date that you start the DA. Use the OBH 01 – Standard Diagnostic Form to bill the second DOS.
- OBH 01 – Standard Diagnostic Assessment Form
These forms can be accessed via the Calendar when creating an appointment or through the Forms dropdown in the client chart
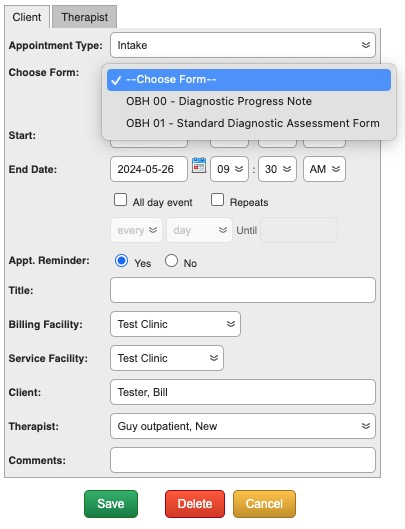
Choose the form you need under the “Intake” Appointment Type. Once the appointment is scheduled, click on the notepad icon on the Appointment Box to open it.
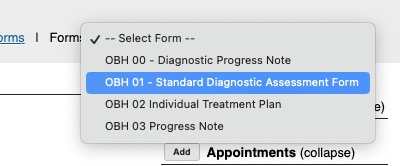
Select the form from this dropdown. You will also need to set the Date of Service and Start/End times as appropriate.
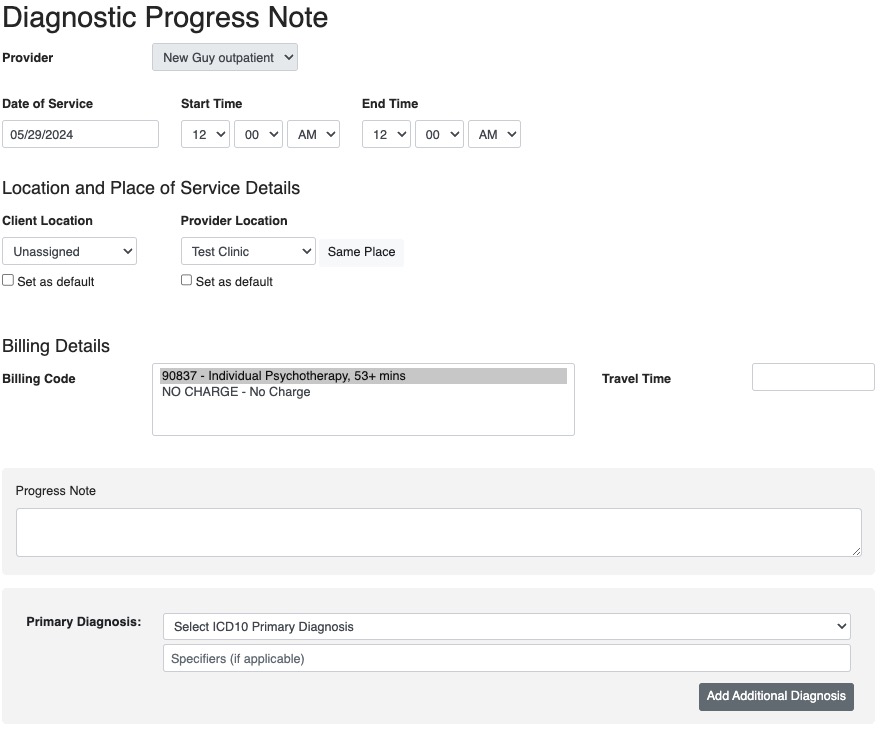
OBH 00 – Diagnostic Progress Note
This note will allow you to:
- Register a previously existing Diagnosis
- Bill for services while working on the Diagnostic Assessment before it is complete.
OBH 01 – Standard Diagnostic Assessment Form
This is the full Diagnostic Assessment form.
For all insurance billable notes:
- The client will need to have a Primary Insurance assigned in their chart
- The note will need a Date of Service and Start/End Times
- If you Client Location and Provider Location don’t match, you will be prompted to choose telehealth and the claim will be coded as such.
- For session based forms, you can choose more than one Billing Code, but only one unit of each will be applied.
Return to a Saved or Incomplete Diagnostic Assessment (Or Any Saved Note)
Via an Appointment
Simply click on the notepad icon of the appointment.
- As long as the form is not signed you will open the form
Via the Client’s Chart
- In the Client’s chart, click on Encounter History
- In the list of service dates, click on the Individual Treatment Plan to open your saved note:
