
BreezyNotes 2.6.3 Release
BreezyNotes 2.6.3 brings with it some great new features. What started as a quick partial release quickly turned into a full release thanks to Covid19 and the resulting need for efficient telehealth documentation and claims billing.
Here’s a rundown of the latest updates. Click on the specific update for further instructions.
- APPT TYPES – Telehealth Note: (Place of Service and Modifier defaults can be set in Administration > Practice. Providers can override defaults within the note).
- SOAP NOTE – Added Time In/Time Out
- REPORTS – Payroll Report: Can set rates and payouts based on individual CPT/Client Billing Codes
- CHART – Demographic Changes: Added Preferred Name, Preferred Pronouns and Gender fields in the Chart and Client Portal
- CHART – Insurance: Added an OOP Max field and an “Eligibility Check” date field
- CLIENT PORTAL – Misc updates to account page so it better matches what’s in Demographics
- CALENDAR – Improved Speed
- CALENDAR – Added a filter by Service Facility
- ADMIN > USER: Rearranged user account info, can now set primary and secondary facilities for providers to have available for sessions.
- PASSWORD RESETS – Provider Login: Added a message to let a provider know if their account is inactive.
- ALERTS: Providers or others (ie. admins/billers) can receive a notification whenever a client changes their demographics or insurance information in the Client Portal.
- STRIPE – Apply fixed and/or percentage fees for credit card transactions processed by Stripe.
- STRIPE – Do Not Store Card Option – Can charge a client’s card without storing it (for one time charges).
- STRIPE – Custom Payment Descriptor – Can customize the charge description in the Stripe Receipt
- ERA Processing – Made ERA processing smarter when multiple modifiers are used. Create Failsafe if the modifiers or CPT code on the Fee Sheet does not match what is on the ERA.
Telehealth Note
Our Telehealth note is a replica of the SOAP note with a few distinctions:
- You can set the default Place of Service and Telehealth Modifier for individual payers in the Insurance Company details located in Administration > Practice.
VERY IMPORTANT:- The default Place of Service is = 02 (Telehealth) and the default telehealth modifier is GT.
- Some payers have different requirements like POS=11 and/or 95 or GQ modifier.We will attempt to pre-set as many as we can, but it is up to your
Clinic Admin to confirm all payer telehealth POS and modifiers are accurate OR providers will have to manually override the POS and modifier within the note.
- There’s a field to enter the telehealth-specific documentation required by many payers.
- You can set the Start and End Time
Here’s how to get started:
Step 1: Set A Payers’ Default Telehealth Modifier and Place of Service (POS)
When you open a Telehealth note for a client, the Place of Service (POS) and the Modifier can be pre-determined based on the client’s insurance company. Here’s how to set it up:
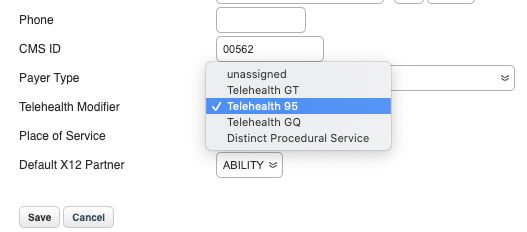
- Go to Administration > Practice and click on an insurance company name.
- Choose the telehealth modifier you want associated with that payer and click save:
- Next, choose the default place of service:
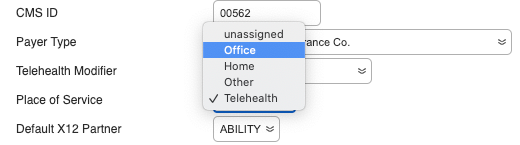
- Click Save – Helpful Hint: If you’d like additional modifiers or Places of Service included on either list, contact Support.
Once a modifier and POS is set for an insurance company the new Telehealth Note will default to those settings for clients who have that insurance company.
Step 2: Schedule a Telehealth Appointment
Create a new appointment on the calendar and choose “Telehealth” from the Appointment Type dropdown:
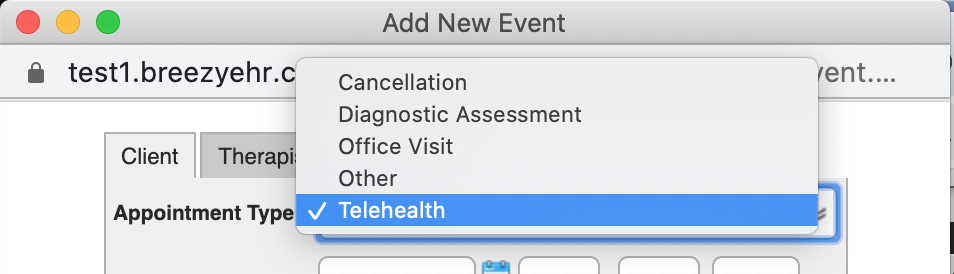
This does away with all of our Telehealth CPT codes associated with Progress Notes. Just select a standard CPT code from the Billing Code list:

Click Save
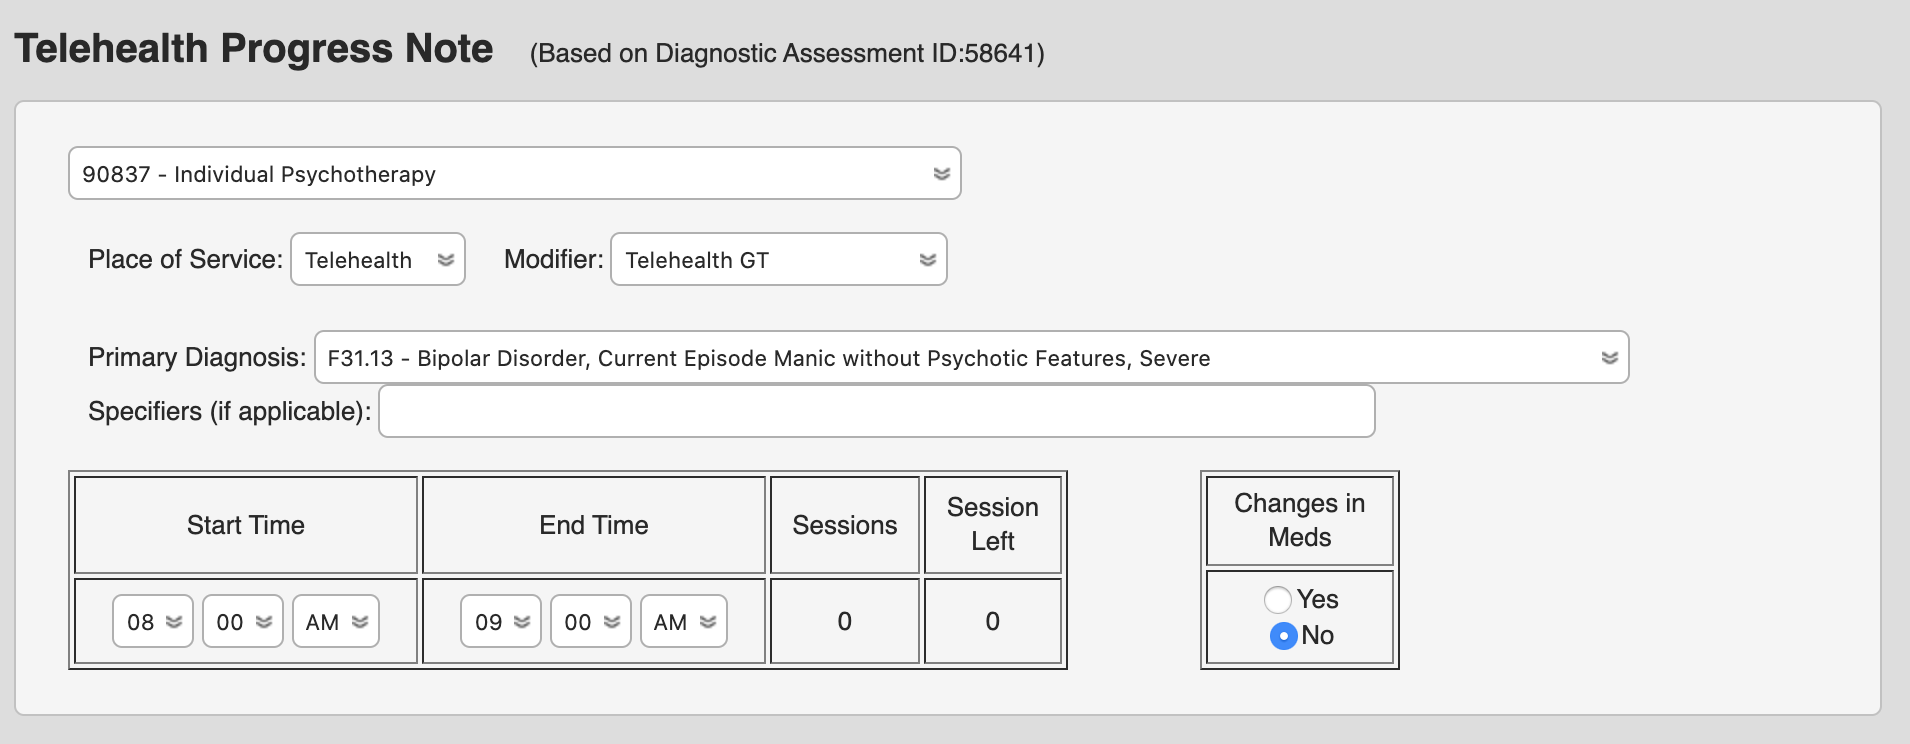
Step 3: Open, Setup and Write Your Note
Click the notepad icon. The Place of Service will be set to “Telehealth” and the Modifier will default to what you assigned to that client’s payer (The provider can override either of these):
![]()
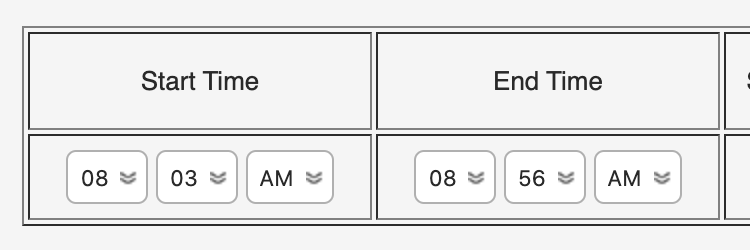
The Start Time and End Time will default to the appointment’s Starte/End Time, but providers can override this if they need to be more specific:
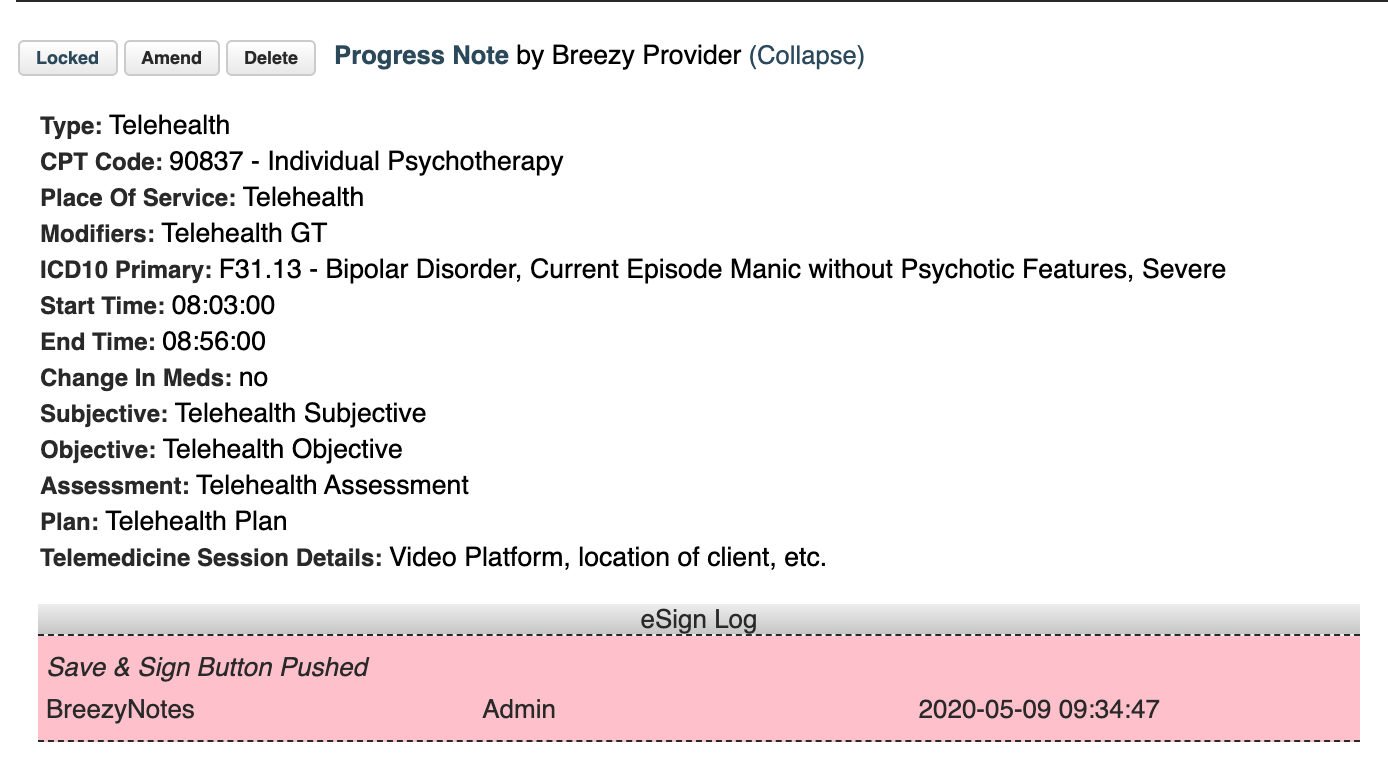
We added a “Telemedicine Session Details” field at the bottom of the progress note for any telemedicine documentation required by the payer.

Step 4: Save, Sign & Submit
This claim will go out with the CPT code selected in the appointment.
The Place of Service indicated in the note will override that of the Service Facility selected.
The selected modifier will be added to the Fee Sheet.
IMPORTANT NOTE: If you choose a CPT code that already has a Telehealth modifier (such as 90837:GT), the claim would go out with 90837:GT:GT and either be rejected or error out.
When changing existing appointments from Office Visit to Telehealth, be sure to confirm use of the correct billing code as well.
SOAP Note Start Time and End Time
Start and End Time have now replaced Duration:
Use this to indicate more specific start and end times for appointments. This is then reported in the Client’s Encounter Summary.
Payroll Report
Our new Payroll Report allows clinics to track time based on CPT Codes. You to assign specific values and rates to each CPT Code. For example, if you want to pay your Providers $60 per hour of Therapy, you could assign the 90837 (1 hr session) CPT Code a value of 1 Unit at a “Therapy” Rate of $60. Then you could assign the 90834 (45 min session) .75 Units of the “Therapy” Rate – so it would be counted as $45.
You can have separate values, as well. So where “Therapy” is valued at $60/hr, “Psych Testing” can be valued at $100/hr.
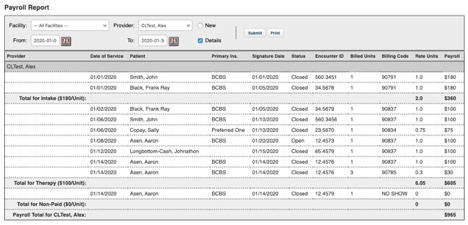
The Payroll Report then totals these rates for each provider and can be exported to CSV.
If you’d like to set up the Payroll Report for your practice, please contact BreezyNotes Support at support@breezynotes.com.
Stripe Changes
We made a number of modifications to the Stripe processes so now you can Apply Flat and/or Percentage fees, we’ve added a Do Not Store Card option, and we built in a custom Payment Descriptor.
Apply Fixed/Percentage Fees
In Administration > Globals > Stripe, you can set a Flat Fee to pass along any fees charged by Stripe (2.9% and $0.30 per transaction at this time).
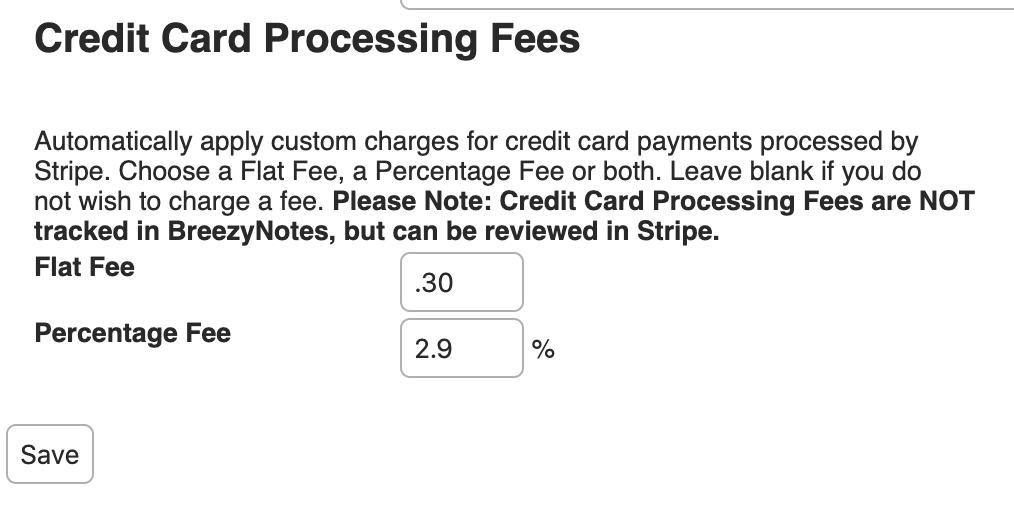
By putting amounts in these fields BreezyNotes will calculate the appropriate fees and add them to your client’s overall charge. So if you charge a $20 copay in this case, the total charge would be $20.88 ($0.30 plus 2.9% of 20).
Do Not Store Card
Sometimes clients want to use a card one time and not have it stored. That is now possible in Payments screen. When you are taking a one-time payment:
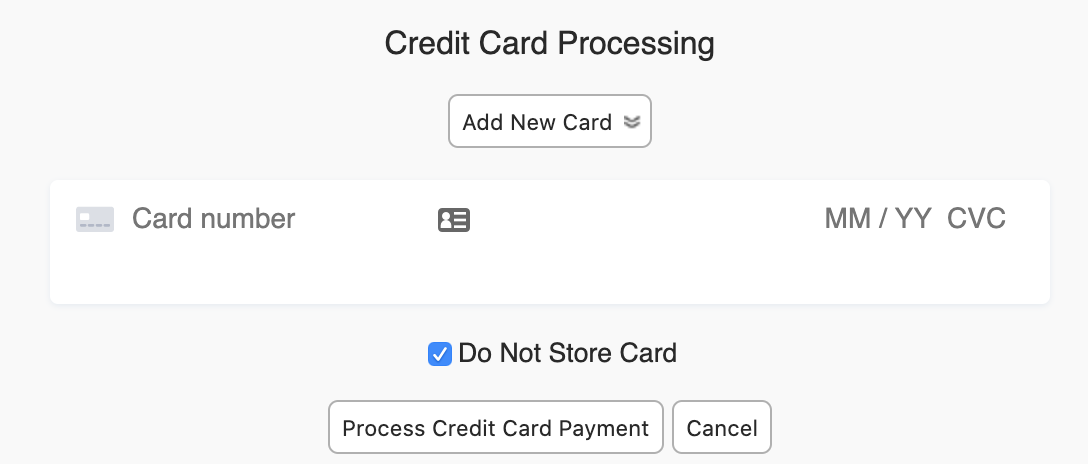
- Go to Payments
- Enter payment details
- Click “Charge Card”
- Check the “Do Not Store Card” box
- Click Process Credit Card Payment.
Custom Payment Descriptor
To set up the payment descriptor a client sees when they receive a receipt from Stripe, go to Administration > Globals > Stripe.
![]()
Whatever you put in this field, is what shows up on the receipt Stripe emails to the client if you have emailed receipts set up in Stripe.
Chart Changes
Demographics
We have now hard-coded “Preferred Name,” “Preferred Pronouns” and “Gender” fields into the client chart.

Insurance
Added an Eligibility Checked field to track when a client’s benefits were last checked:

Added an OOP Max field:

Client Portal Updates
We’ve updated the Account page of the Client Portal so it more closely matches the Client Demographics in their chart. That means we’ve added the Preferred Name, Preferred Pronouns and Gender fields:
![]()
We also rearranged the format and updated the client’s preferences in a new section below their demographic info:
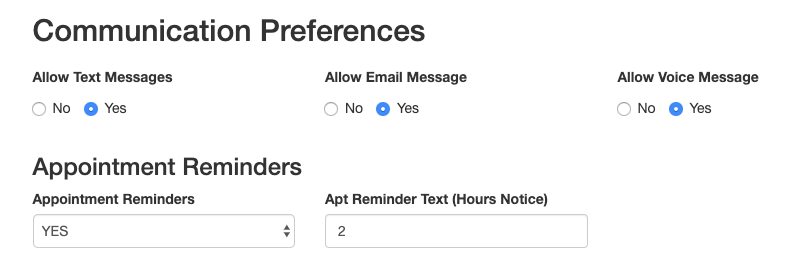
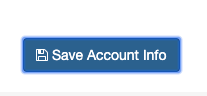
Finally – instead of the fields auto saving, the client must click “Save Account Info” in the bottom right corner:
An alert message will be generated to any users assigned to receive them like providers or admins (See “Alerts” update below).
Calendar Updates
We’ve rearranged the calendar interface, added a Service Facility Filter, the ability to assign facilities to specific users and sped up the calendar.
Interface Update – Moved Provider filter to above calendar:
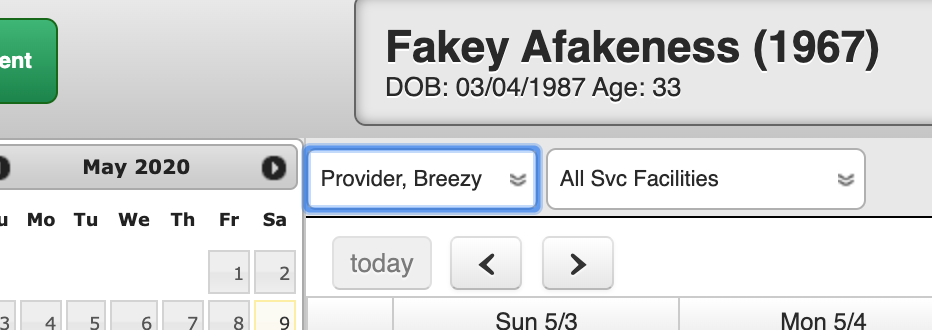
New Feature – Added Service Facility Filter:
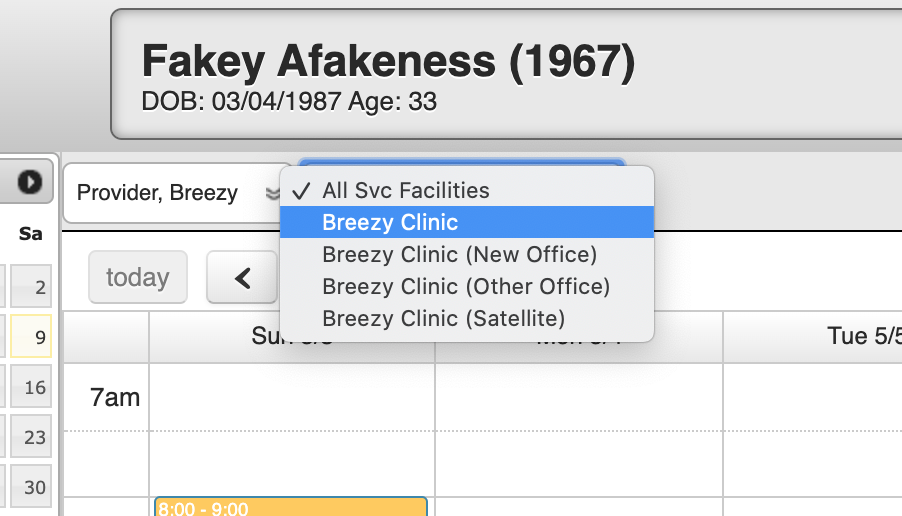
With the Service Facility filter you can view all appointments at specific Service Facilities. You can set specific Service Facilities.
Alerts Center
We’ve updated our Messages section in Administration > Globals to be an Alert center. This sets the stage for additional alerts/messages we plan to offer as our development continues.
Right now admins can set who should receive alerts for when a Client Portal Payment is made or when a Client changes their demographics or insurance in the Client Portal:
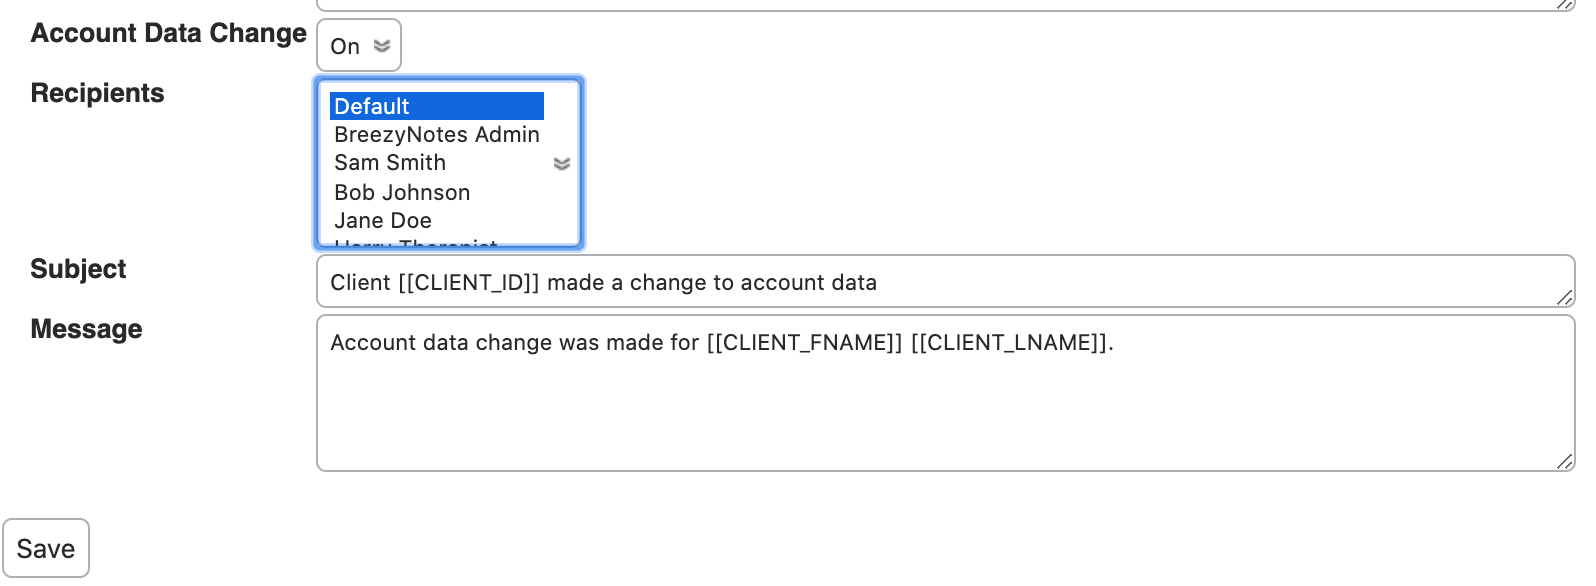
The person or people assigned to receive these alerts will get a message in Messages when either event occurs.
Additional Updates
- ADMIN > USER: Rearranged user account info, can now set primary and secondary facilities for providers to have available for sessions.
- PASSWORD RESETS – Provider Login: Added a message to let a provider know if their account is inactive.
- ERA Processing – Made ERA processing smarter when multiple modifiers are used. Create Failsafe if the modifiers or CPT code on the Fee Sheet does not match what is on the ERA.