BreezyNotes Client Portal: Getting Started
08.04.2017
Client Portal, Support Posts
There are a few key differences you will see in BreezyNotes once the client portal is enabled.
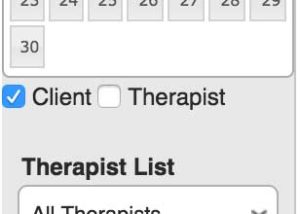
- There are two calendar options to choose from. This allows you to select whether you see your client appointments, therapist appointments or both.
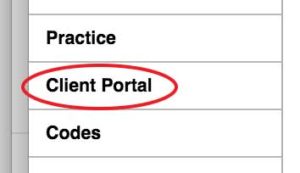
- A Client Portal link becomes active under administration. Go here to:
 Manage Forms
- Enter your Welcome Message/End User Agreement
- Manage which forms are included in the Welcome Message
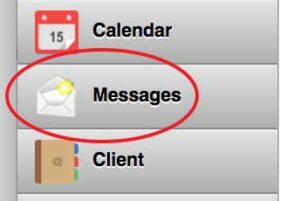
- A Message Center appears in the Navigation. This includes messages from clients, and alerts regarding their portal usage,forms requests appointment requests and more.
- New Options in Client Demographics.
In the Notifications Tab, set Allow Client Portal and Portal Notifications to “Yes.”
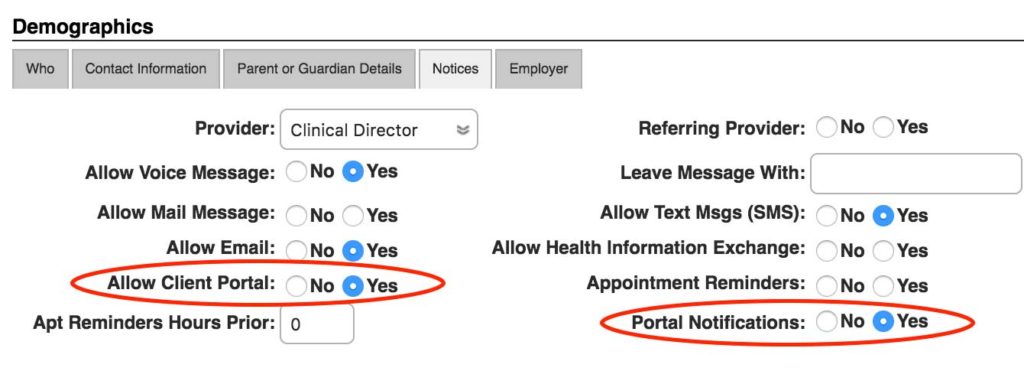
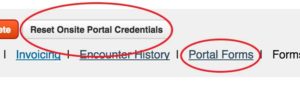
Allow Client Portal allows you to create or reset portal credentials for your client.Portal Notifications will send a notification to the email listed in the Contact Information tab every time the client receives a message in their account.In the Client Chart, you’ll see either a Create or Reset Onsite Portal Credentials button. Clicking this will let you save new credentials for the client. There is also a “Portal Forms” link in the chart navigation that allows you to View, Print, Request Updates or Delete all forms completed by the client.