Setup a Client with the Portal
To enable the Client Portal for a client, you’ll need to either create a new client or edit an existing client’s demographics.
Under the “Notices” section of the client demographics, there is a field titled “Allow Client Portal.” Select “Yes.”
![]()
If they have elected to receive email notifications, make sure “Allow Email” and “Portal Notifications” are set to “Yes.”

Once a client is created, click “Create Onsite Portal Credentials” at the top of the screen.
![]()
The client’s temporary credentials will appear on your screen.
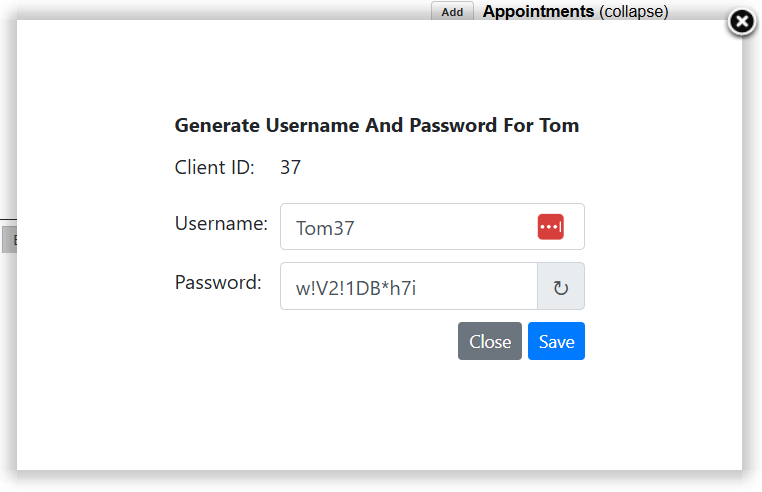
The User Name and the Password fields are both editable. This allows you to create a preferred User Name for your client or a simple password.
Click the Save button and a new window will appear.

Highlight and copy this information, then send to your client via email or other secure means so they can log in, update their password and access their Client Portal account.
Contact BreezyNotes if you’d like a template email to help clients get started with the Client Portal.
You are then able to add client portal forms to the client’s portal for them to fill out by clicking the Add Client Portal Forms.
Once clicked, the popup will extend and show a list of forms that can be clicked
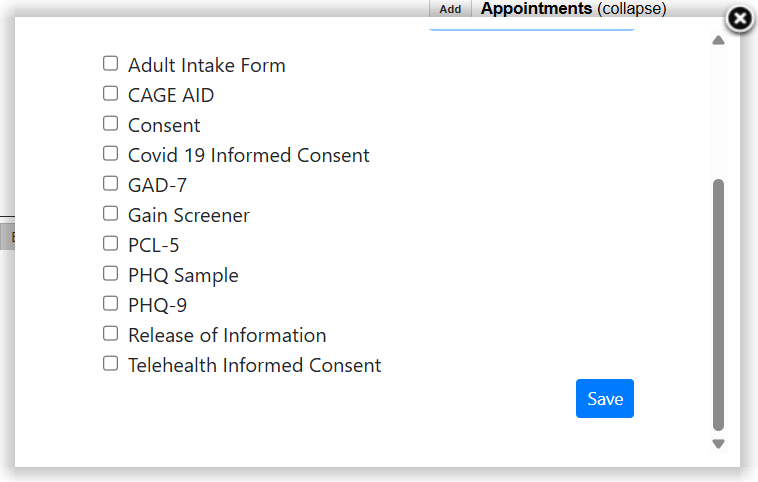
Click Save once all forms have been selected, you will then get a popup that lets you know it worked