
Uploading and Managing Files to Client Uploads in Client’s Chart
07.01.2016
Client Actions, Support Posts
In BreezyNotes EHR, every client has a place in their chart where you can upload files from your computer. You can also attach files to a specific encounter for later viewing.
Uploading the File
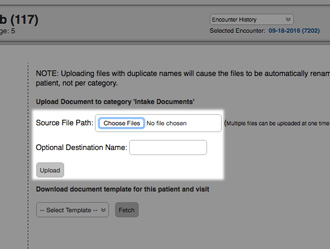
To upload a file to the client chart:
- Navigate to the client chart.
- Click “Client Uploads” link.

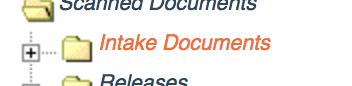
- Click “Scanned Documents” folder (and a specific folder if you use them to organize your files).
If you’d like to customize your folder list, please contact Support.
- Click “Choose Files” on the right and select the file from your computer that you wish to upload.
- Click “Upload”.
Move a File to a New Folder/Category
- Preview the document by clicking on it in the folder
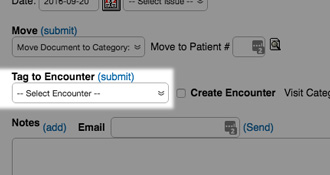
- In the “Move” section, click the “Move Document to Category” dropdown.

- Choose the new folder/category.
- Click the Submit button
Move a File to a Different Client
- Preview the document by clicking on it in the folder
- In the “Move” section, enter the client’s ID # in the “Move to Patient #” box.

- Click the Submit button
Attach the File to a Specific Client Encounter
If you’d like to attach an uploaded file to a specific client encounter:
- Find the document you just uploaded and click on it.
You may have to click the plus sign ( ) to open the folder and review your uploaded documents.
 - Under the “Tag to Encounter” dropdown, select the Date of Service tied to your upload.
- Click the “(submit)” link next to the “Tag to Encounter” heading.
- Now if you ever want to access that file, you can find it by navigating to that encounter in the client’s encounter history.