Completing Progress Note (CTSS)
Progress Notes can be found by scheduling an appointment, or from the Forms Dropdown in a client’s chart. Some are session-based, meaning you one unit is billed no matter the length. Others are unit-based, which means the units billed increase as more time is spent on the activity (typically 1 unit = 15 minutes).
There are seven Progress Notes or other Note Types in a default setup for a CTSS clinic:
- CTSS 04 – Psychotherapy Progress Note (Session Based)
- CTSS 05 – Skills Training and Development Note (Unit Based)
- CTSS 06 – Standardized Measures Note (Session Based)
- CTSS 07 – Mental Health Clinical Care Consultation (Session Based)
- CTSS 08 – Comp Community Support Services – Crisis Assistance (Session Based)
- CTSS 09 – Therapeutic Behavioral Services (Unit Based)
- CTSS 10 – Discharge Summary Note (Non-Billable)
- OTH – Cancellation (Non-Billable)
All forms except the CTSS 10 – Discharge Summary Note are scheduled with the “Client Session” Appointment Type on the calendar. OTH – Cancellation is associated with the “Other” Appointment Type. Some forms may not be visible to all users depending on your clinic’s unique access settings.
1. Scheduling a Client Session
Create the Appointment on the Calendar
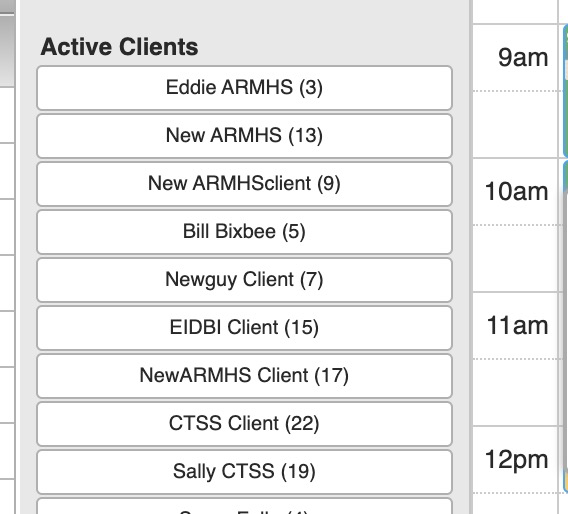
- Drag the client’s name from the Active Client List on the left to the client’s initial appointment
TIP: You can also click on the calendar to set up an appointment and will need to specify the client in the Client section of the appointment window
- The Appointment Window will pop-up
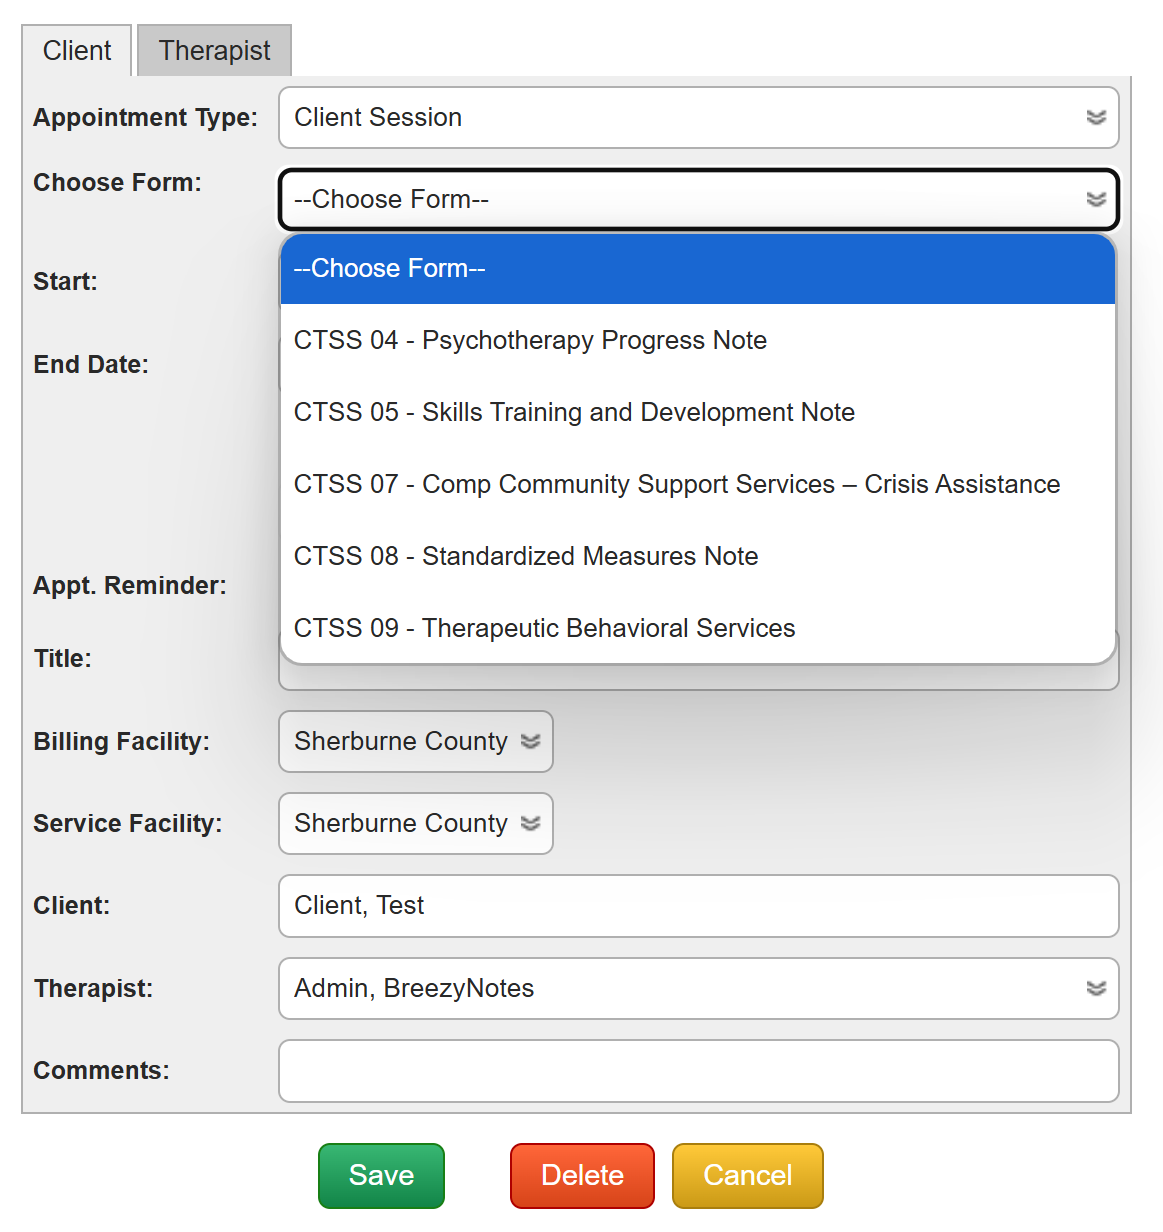
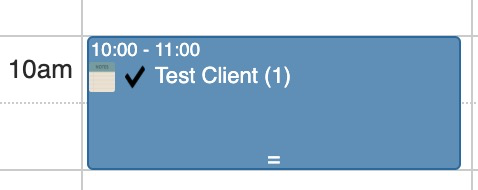
- Click Save. This will create dark blue appointment on the calendar
2. Open and Write your Client Session Note
- On the calendar, click the Notepad icon (
 ) on the client’s “Client Session” appointment.
 - In addition to Date of Service, there will also be:
- Start Time: Indicate the actual start time of the appointment
- End Time: Indicate the actual end time of the appointment
PRO TIP: Use the numbers on your keypad and the tab key instead of the mouse to quickly work through these adjustments - Client Location: Location of Client at time of service.
- Provider Location: Location of Provider at time of service.
- If the provider is at home doing telehealth, then choose the Primary Facility
- Billing Details: For billing code selection and travel time.

- Choose the appropriate billing code for the session
- To choose an additional billing code like Interactive Complexity, hold the Ctrl button (PC) or Cmd button(Mac) while clicking. You can also do this to unselect a billing code.
- Fill out Travel Time, if applicable
- Complete Progress Note
- At the bottom of the form you will have three options: “Save”, “Save and Close”, “Save & Sign”, or “Save, Sign, & Submit”

- Choose Save, Sign & Submit if you are done with the form
- If this button is grayed out, it will display a message with the reason why.
- If it is missing, either the form is non-billable or you do not have the access level required to submit a claim. Talk to your clinic administrator if this is incorrect.
- If you Save and Close, you can can return to this form, by clicking on the Notepad icon ().
- The blue appointment will have turned yellow to indicate that the session was started but not completed.
A Note on Telehealth
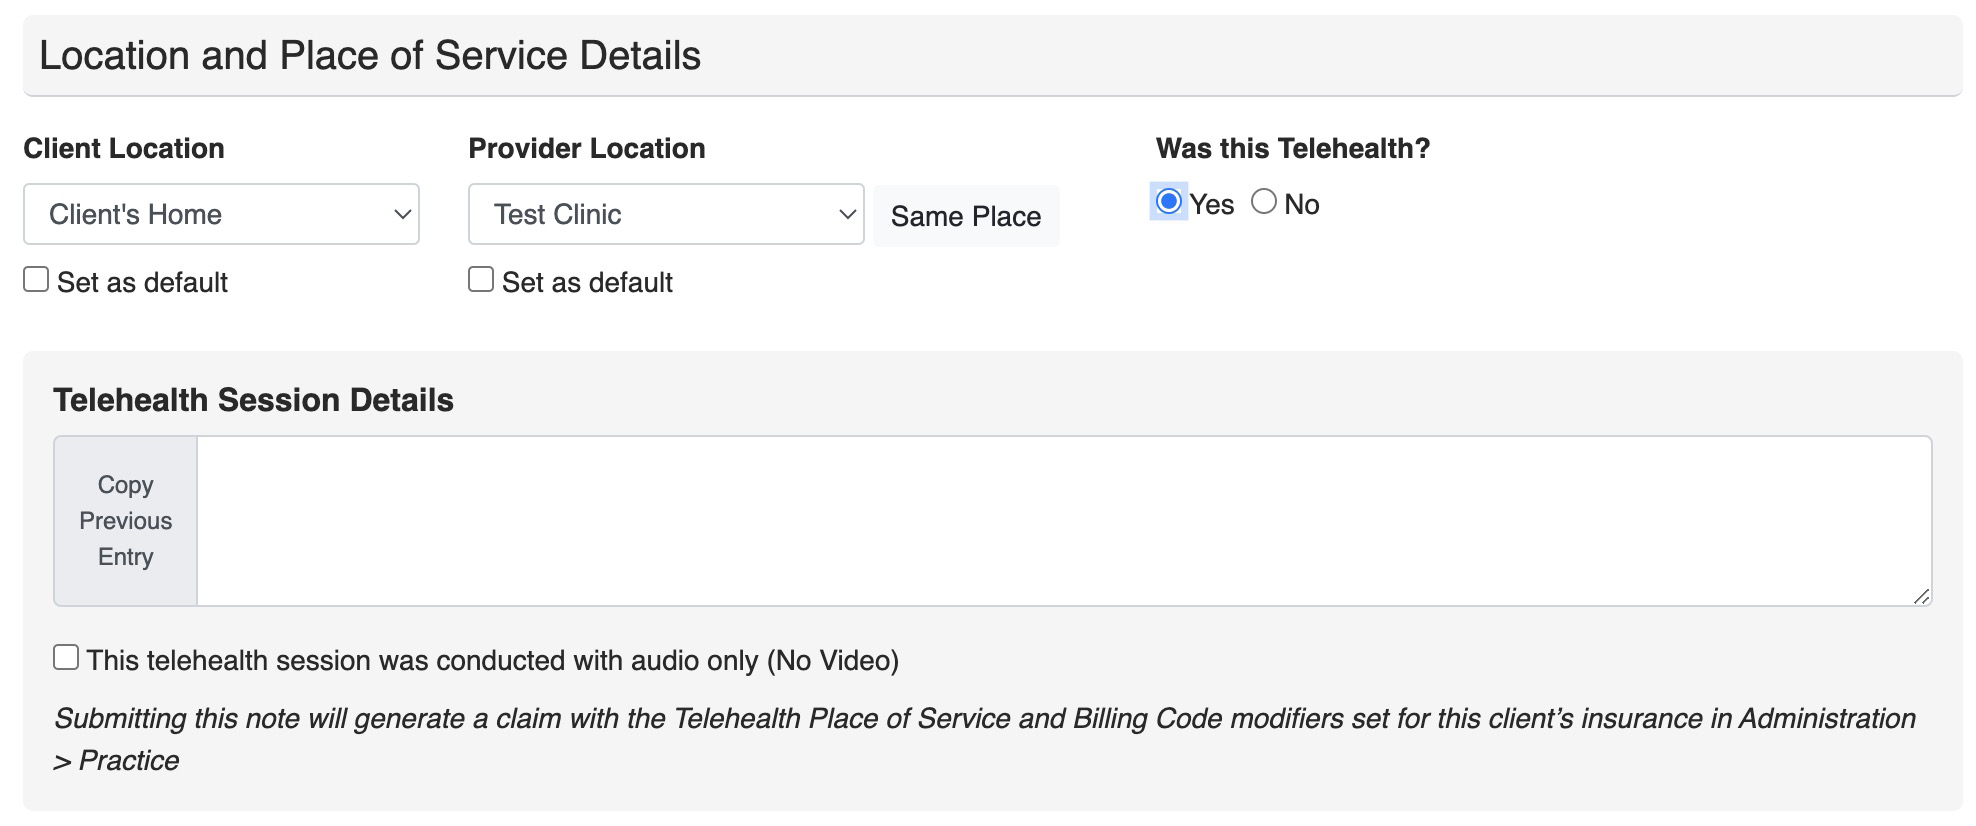
- If the Client Location and Provider Location are different, the system will ask “Was this Telehealth?”
- Choose “Yes” and a Telehealth Session Details section pops up
- If you choose No you will receive this warning:
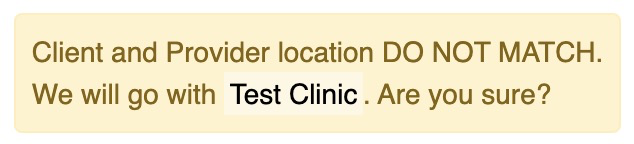
The logic being, if provider and client are in different places, how would they have a billable session unless telehealth was involved?
THIS APPLIES WHETHER THE FORM IS BILLABLE OR NON-BILLABLE.
How to Return to an Unfinished Form
If it’s scheduled on the calendar, just click on the Notepad icon (![]() ) of the appointment to return to it.
) of the appointment to return to it.
- If the form has not been signed, you’ll open up the form to finish.
- If the form has been signed, you will go to the Encounter Summary.
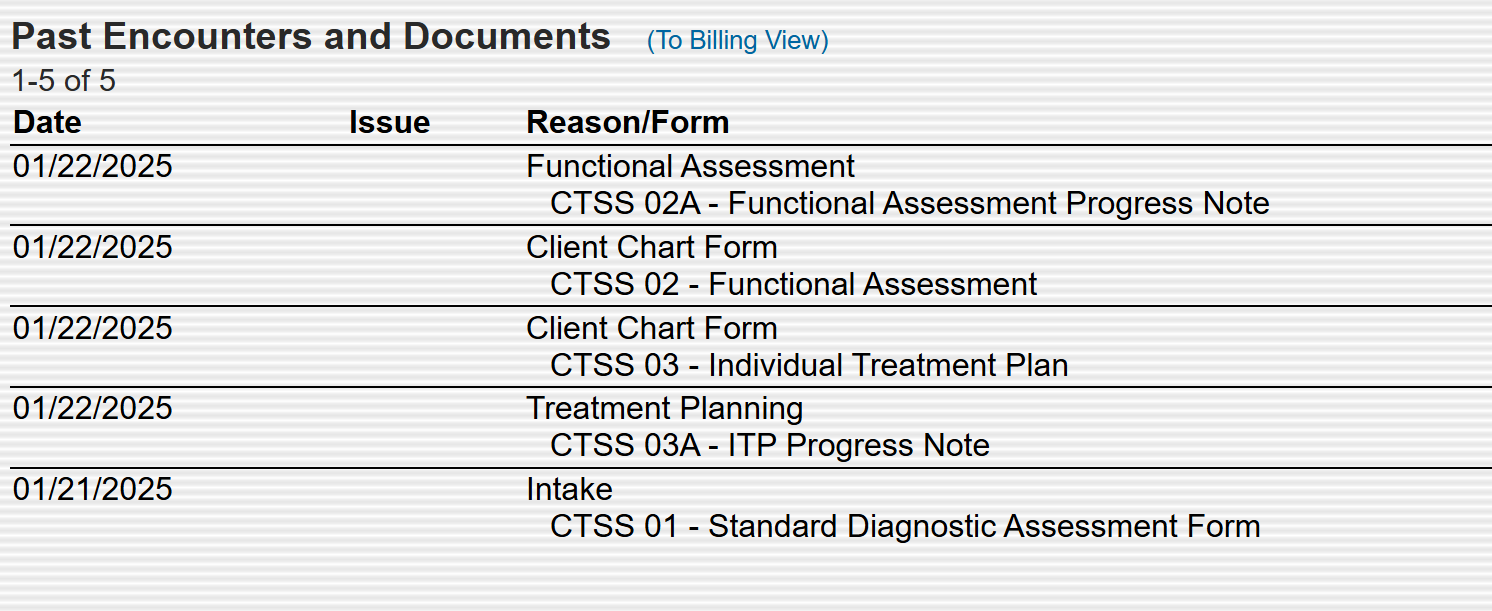
Alternatively, you can return to any and all forms through the Encounter History.
- In the client’s chart, click on “Encounter History”
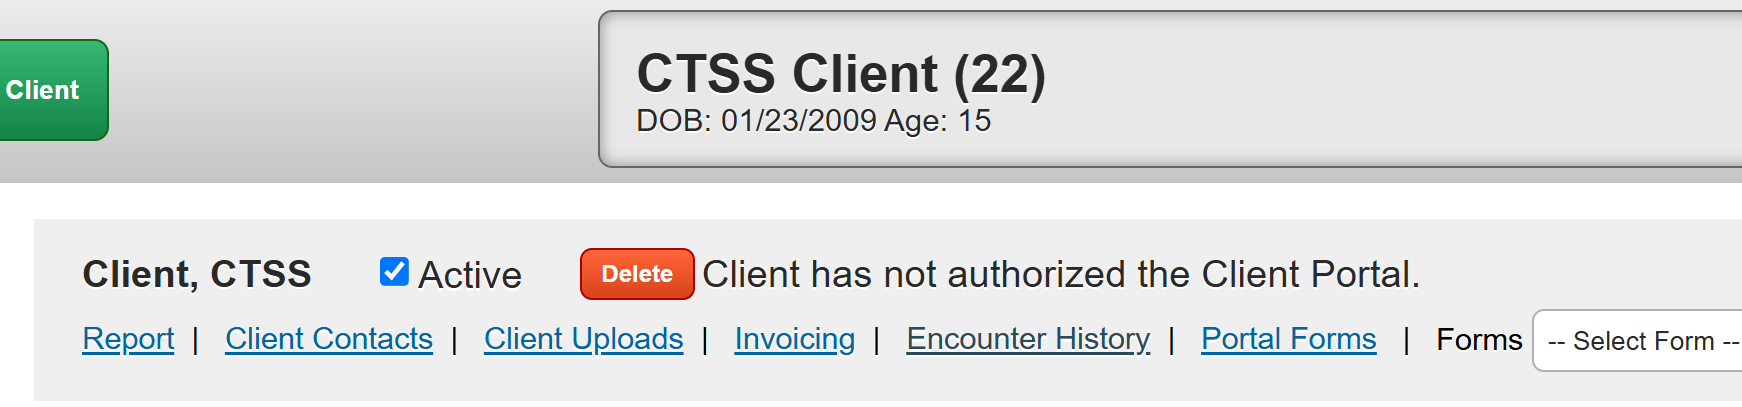
- Find the form that needs to be finished, click on it, and continue filling out