
Creating and Documenting a Cancellation or No Show
04.01.2016
Calendar, Support Posts
To convert an appointment from an “Office Visit” to a late cancellation or a No Show follow this tutorial only if you have not already checked a client in by clicking the notepad icon. If the appointment is yellow, you must first delete the Encounter.
This process only works if you have NOT already opened the note for the encounter you want to cancel.
- Click the colored part of the appointment box on the calendar
- Change Appointment Type to “Cancellation”
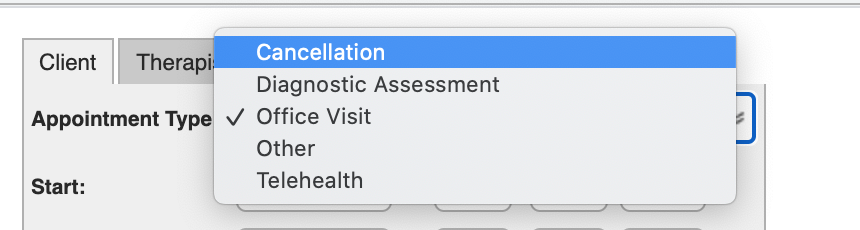
- Select your Cancellation/No Show Billing code

- Click Save
- A pop-up will confirm that you will be generating a Fee Sheet with the Billing Code you selected.
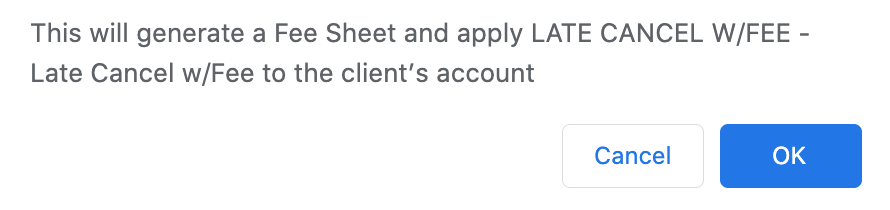
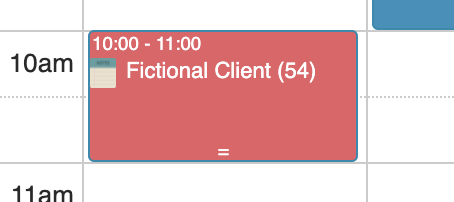
- Click Okay – The calendar will reload and your appointment will turn red.
- To document the Cancellation/No Show, click on the notepad icon. A client Encounter Summary will appear.
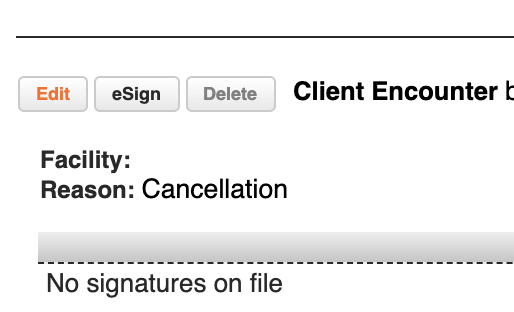
- Click Edit.
- Write your note in the “Consultation Brief Description” box.
- Click “Save.”
- Click “eSign” if you wish to lock your note.